


We're in the middle of winter, a great time to get snapshots of the family enjoying the season. A few weeks we got hit hard with snow here in California (yes, it does snow in the mountains and higher elevations! LOL) Of course the kids really got into it -- who doesn't love a little snow in your own front yard!?
I created a layout for these fun family memories using papers and stickers from Bo Bunny Press with the Colorbox Fluid Chalk Ink Cat's Eye Queue in Chocolate & Blueberries, Smooch Spritz, and Sparkle Fibers. I used Smooch Spritz to create a frosty back drop (on an otherwise plain piece of cardstock) for my layout and Sparkle Fibers to create "ice" on a border. I also posted this layout over on the Clearsnap blog. If you haven't gone over there and checked in as a follower yet, head on over right now!! We're always doing giveaways and in the next few weeks, we'll be giving you a peek at new products coming out.
Clearsnap offers Glue Gloss which is perfect for adhering Sparkle Fibers to a project but did you know, you can treat Sparkle Fibers just like glitter and use it without adhesive? One of my favorite things to do with glitter (and now Sparkle Fibers) is to use the BACK of a sticker as my adhesive. On this page I used a Bo Bunny Press border sticker to adhere Sparkle Fibers onto to make a wonderfully "icy" border. Here's how:
Clearsnap Supplies:
Smooch Spritz in Vanilla Shimmer and Navy Twinkle
Craft Funnel
Other Supplies:
Paper, Stickers - Bo Bunny Press
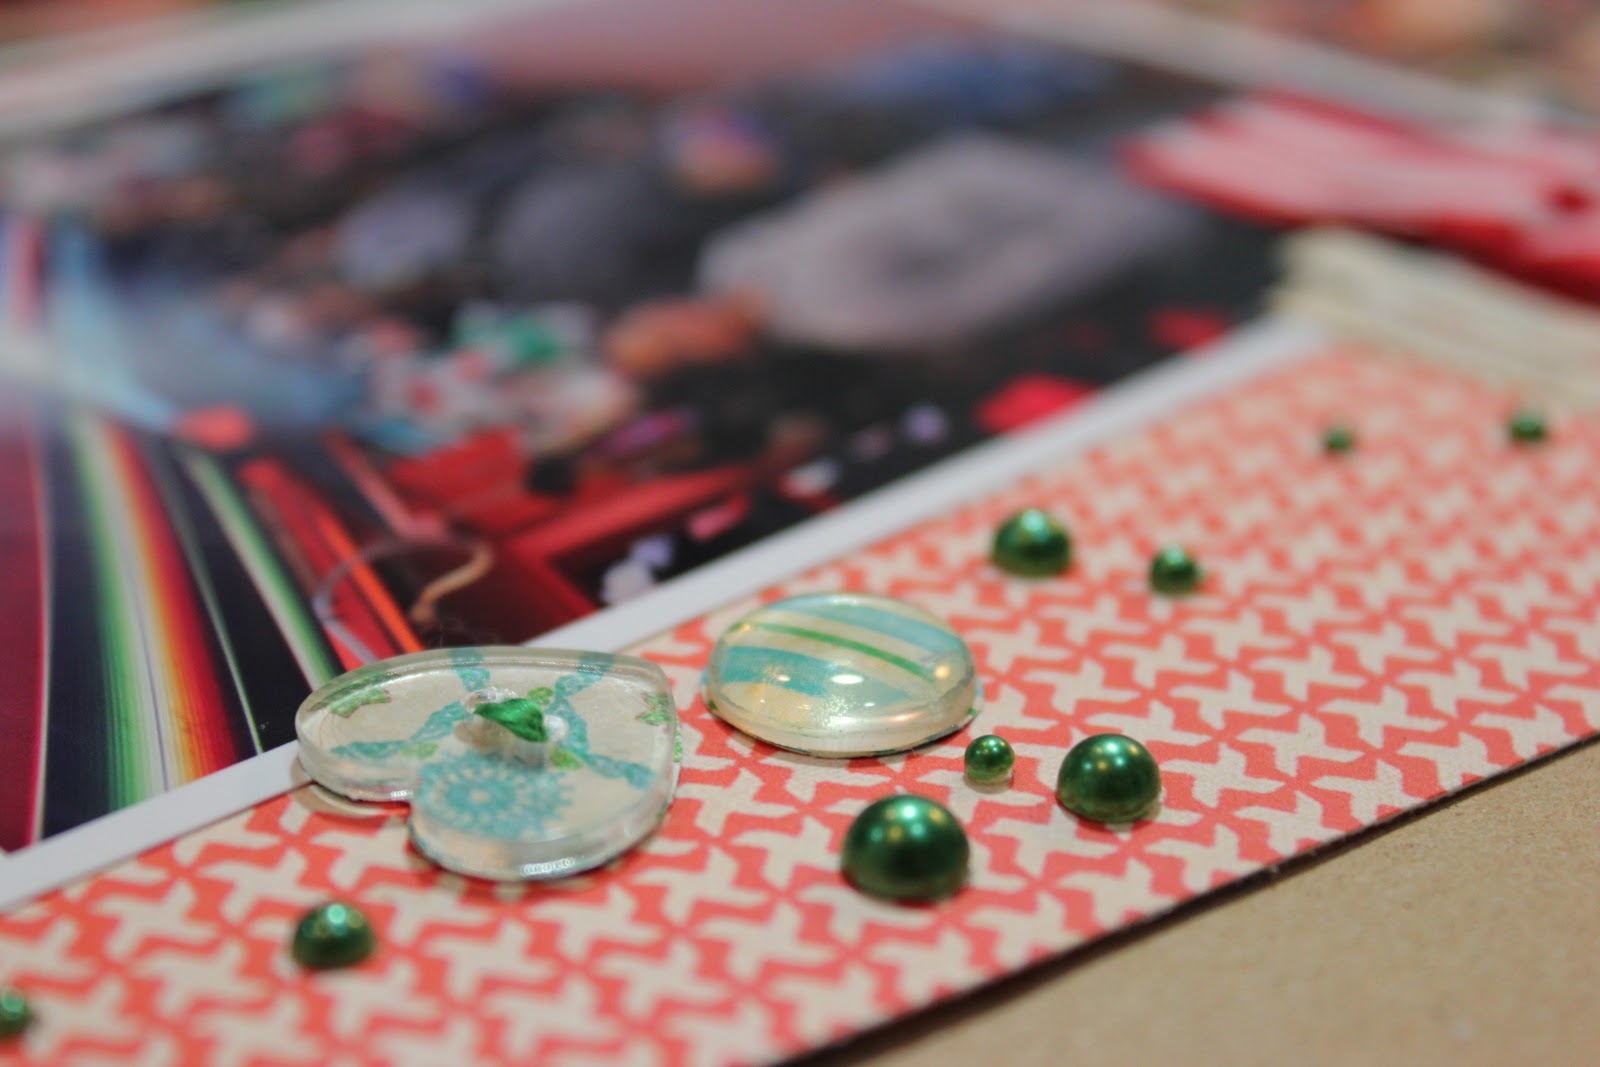
Paper for Buttons & Epoxies - Kaiser Craft
Epoxy Shapes, Buttons - Epiphany Crafts
Twine - Joann's
Cardstock - American Crafts in Denim
Pearls - Prima
Journal Spot - Pink Paislee

I first spritzed the entire background (two pieces of Denim Cardstock) with Smooch Spritz in Vanilla Shimmer. I love Vanilla Shimmer because it is virtually clear, only adding "Shine" to a page with little color.
To get a fine mist on a project, hold the Smooch Spritz bottle about 18-24" above your project and spray. The fine mist will waft down and settle onto the page to create a soft but ultra-shimmery effect, just like frost on the ground. To get more intense color and shine, spray closer to the project, about 6" away, like I did in the photo above.

To add a little color and depth, I spritz Smooch Spritzed in Navy Twinkle in a couple of spots on each background page. This gives the background dimension and makes the "frost" feel a bit more organic.
After I sprayed the background, I inked the edges of all of the page elements. This page uses one full sheet of double-sided 12x12 paper and a 3" x 12" piece of another patterned paper. It's a great economical layout and if you are making multiple layouts for a single event, you could use 5 sheets of patterned paper (4 of the same pattern and one different) plus 10 sheets of cardstock to get 4 different layouts using this design.

Cut the 12x12 Paper to make a 2" x 12" piece and a 10" x 12" piece. Ink the edges of 2" x 12" piece with the Colorbox Fluid Chalk Ink Cat's Eye Queue in Chocolate & Blueberries and adhere vertically to the right hand page about 2" from the right edge (Green pattern in the layout above).

Cut the 10" x 12" piece down to 4"x 10" and 8"10. Round the corners on one 10" side on each piece of paper. Ink the edges with the Colorbox Fluid Chalk Ink Cat's Eye Queue in Chocolate & Blueberries and adhere the 4"x 10"piece to the left hand page and the 8"x 10" piece to the right hand page, slightly overlapping the 3" x 12" paper. The rounded corners should be facing away from the seam between the pages and the sharp corners should meet up at the seam.
Round the corners on one 2" side of the 2" x 12" patterned paper piece leftover and ink the edges with the Colorbox Fluid Chalk Ink Cat's Eye Queue in Chocolate & Blueberries so that the pattern on the back is showing. On the sample the front of this paper is white and the back is purple. Adhere across the bottom of both pages, about 2" onto the right page, and cut apart at the seam between the two pages.
Add photos and some of the large snowflake stickers from the sheet to the layout to get the bulk of it completed.

Add one Border Sticker (Maroon Scalloped) across the 2" x 12" strip. Now's the fun part! I love this technique for stickers that have a great shape but a difficult-to-work-with pattern, like this flower shaped one from Bo Bunny Press. Alot of their sticker sheets have this particular border on them and every time I try to use it, it blends into the background on my page.But the shape is fun so it is perfect for making a glitter or Sparkle Fiber accent like I did on this layout.


Make a small pile of Sparkle Fibers in Snowdrift in a glitter tray or on a piece of paper (that you can later use to help funnel the Sparkle Fibers in Snowdrift back into their container). Remove one of the stickers borders from the sicker sheet. Press the back (sticky side) of the sticker into the pile of sparkle fibers until you can no longer feel any tack from the sticker when you touch the sticky side. The adhesive on the sticker should be completely covered with Sparkle Fibers in Snowdrift. It's wonderfully icy looking!!

Insert a Clearsnap Craft Funnel into the Sparkle Fibers in Snowdrift bag and funnel the remaining fibers back to be stored. I love the Craft Funnel--even if you have a glitter tray or use a piece of paper rolled into a funnel, the small (and cute!) Craft Funnel helps you get every last yummy bit of glitter, Sparkle Fibers, or whatever else you are funneling where you need it to go and it has so much more control than a glitter tray or piece of paper alone.

Adhere the Sticker Border to the page with 3D Foam Dots. I added self-adhesive pearls to the border for some extra bling.

Now add a title, Journal spot, extra Stickers, and buttons + epoxies to finish it off.


The matte patterned paper, photos, and stickers between the icy Sparkle Fibers border and the shine of the Smooch Spritz on the background make for a layout with alot of depth and interest.
Hope you're inspired to make your winter pages icy with Sparkle Fibers and Smooch Spritz! There are kits for this layout available in my etsy shop in case you want to make it too :) Here's the link: http://www.etsy.com/listing/66278274/fresh-powder-12x12-scrapbook-layout-kit
Happy Scrapping!
No comments:
Post a Comment
Leave us some scrappy love!